
Getting water out of iPhone: quick safe fixes
- Aug 22
- 8 min read
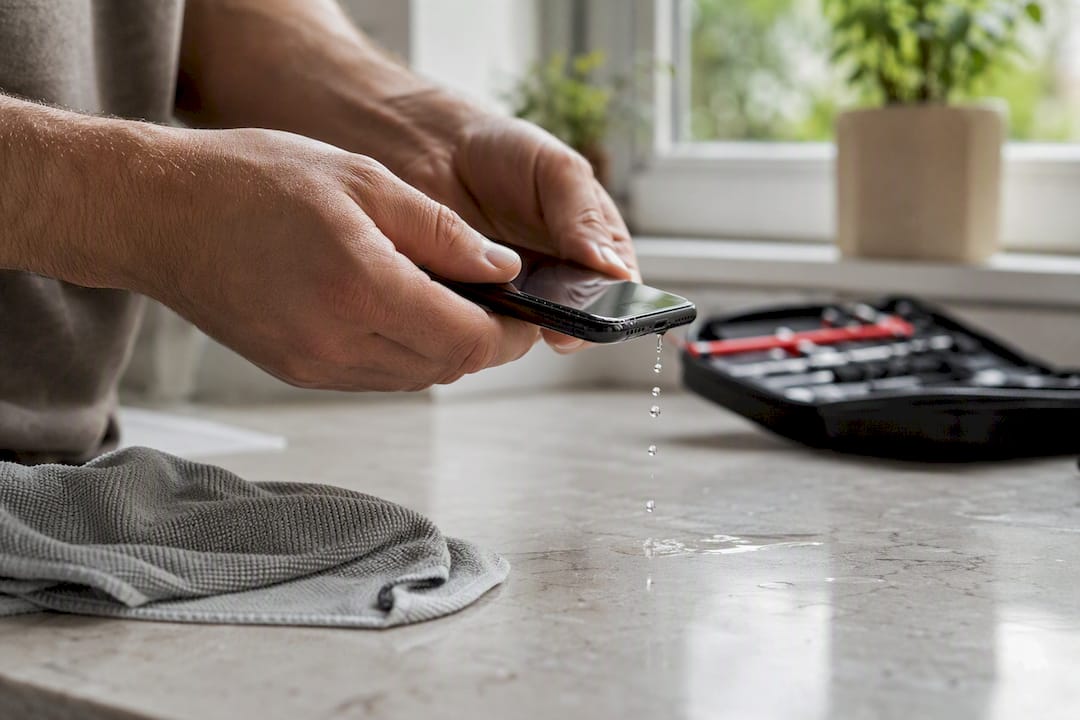
If your iPhone has just been in water, act now: power it off, remove the case and SIM tray, and blot the exterior dry with a lint-free cloth. Keep the speaker and charging port facing downward so gravity helps rather than hinders. Getting water out of an iPhone quickly is the single biggest factor in whether it survives without a trip to a repair shop.
Power off immediately. Do not test it “just to see” if it works.
Remove the case, SIM tray, and any cables or accessories.
Blot the outside with a soft, absorbent cloth. Do not shake or swing the phone.
Hold the phone speaker-down and try a water eject tone straight away if the speaker sounds muffled.
Do not charge it, heat it, or push anything into the ports.
Pro Tip: Gravity is your best free tool. Simply resting the phone speaker-side down on a folded cloth for a few minutes, before you do anything else, drains a surprising amount of trapped water on its own.
Key Takeaways
Getting water out of an iPhone successfully depends on acting fast, using sound and gravity rather than heat, and waiting the full drying period before testing power.
Point | Details |
Act immediately | Power off, remove the case and SIM tray, and blot dry before trying anything else. |
Use sound, not heat | A low-frequency water eject tone clears speaker water safely and quickly. |
Never charge while wet | Wait for the “Liquid detected” warning to clear before plugging in, even if it looks dry. |
Give it time | Internal moisture typically needs 24 to 48 hours to clear before a safe restart. |
Book a repair if signs persist | Rapidrepairsldn offers diagnostic checks, corrosion cleaning, and part replacement when DIY drying isn’t enough. |
Where to check further guidance
Apple Support’s liquid damage page covers official safety steps straight from the manufacturer.
The iFixit liquid damage repair guide breaks down the professional cleaning workflow in detail.
Our own post on rescuing water-damaged devices and motherboard issues goes deeper into board-level repair.
For general troubleshooting on other wet devices, Device Giant’s guide to phone screen faults is a useful companion read.
Table of Contents
How do you get water out of an iPhone speaker?
Play a low-frequency tone with the speaker facing down and the volume turned up. This is the method technicians actually recommend, and it works because certain frequencies that create vibrations strong enough to physically shake water droplets loose from the speaker mesh. It is not a gimmick. It is basic physics doing the job a hairdryer never could.
Here is the sequence worth following, in order:
Turn off Bluetooth so the sound plays through the built-in speaker, not a paired device.
Turn the volume all the way up.
Run a water eject tone, either through the iOS Shortcuts app’s “Water Eject” shortcut or a browser-based tool that generates the same low-frequency sound.
Hold the phone speaker-side down while the tone plays.
Wait ten to fifteen seconds, check for sound clarity, and repeat two or three times if the audio still sounds muffled or crackly.
Apps built specifically for this, such as Water Eject, generate calibrated vibration patterns designed to push moisture out of the grille without straining the speaker. The Web Audio API is what powers most browser-based versions of this trick, letting any website generate the same precise low frequencies an app would.
A repair technician’s shorthand for this trick: gravity gets the water moving, sound finishes the job. Neither one alone works as well as the combination.
Stop immediately if the phone feels warm during playback, or if the sound gets worse rather than better after a few attempts. That is usually a sign the water has moved somewhere the speaker eject method cannot reach, and repeating it further will not help.
How do you dry an iPhone’s charging port safely?
Keep the phone powered off, tip the port downward, and let gravity do the initial work before you touch anything with a cloth or tool.
Gently tap the bottom edge of the phone against your palm with the port facing down to dislodge any pooled water.
Blot the port opening with a dry, lint-free cloth, dabbing rather than pushing.
Point a cool fan at the port for ten to fifteen minutes. Never use a hairdryer or any heated air.
Seal the phone in a container with silica gel packets overnight if you suspect deeper moisture. Skip the rice; it is slower and leaves dust behind.
Avoid cotton buds, toothpicks, or anything else that could push water further into the connector rather than out. High-pressure compressed air is another common mistake; it tends to drive droplets deeper rather than clearing them.
Before you attempt to charge, plug in briefly and check the screen. If you see a “Liquid detected” warning, Apple’s own guidance is clear: stop and wait. That warning means the connector still has moisture present, and charging now risks a short.
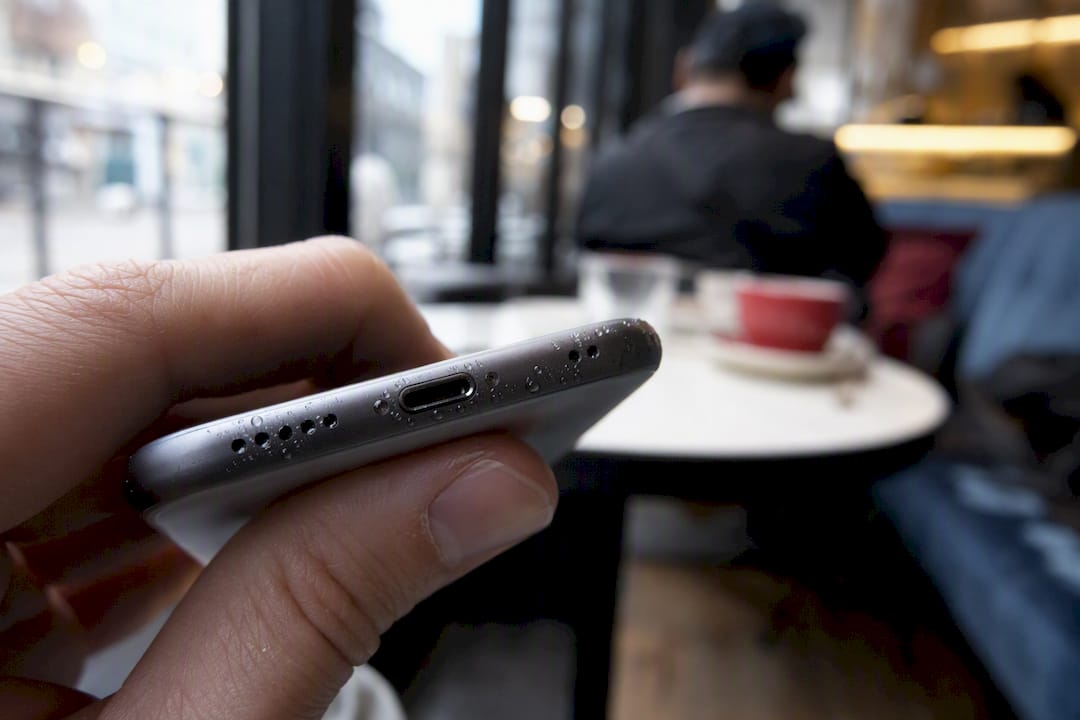
Pro Tip: If the port looks dry but the warning still appears, wait a further few hours rather than repeating the test every ten minutes. Repeated charging attempts are one of the most common reasons a fixable wet phone becomes a phone that needs a new logic board.
What about the microphone, earpiece and camera?
Water trapped near the microphone or earpiece behaves much like the speaker: tilt the phone so the affected part faces down, tap the edge lightly, and blot with a dry cloth between attempts.
Record a short voice memo to test the microphone; muffled or distant audio means moisture is still present.
Make a quiet call or play a voice note to check the earpiece separately from the main speaker.
If the camera lens looks foggy, leave the phone upright in a dry room, ideally near silica gel or a dehumidifier, and check again after an hour.
Retest each part individually. A clear speaker doesn’t guarantee a clear microphone.
Why rice, hairdryers and freezers make things worse
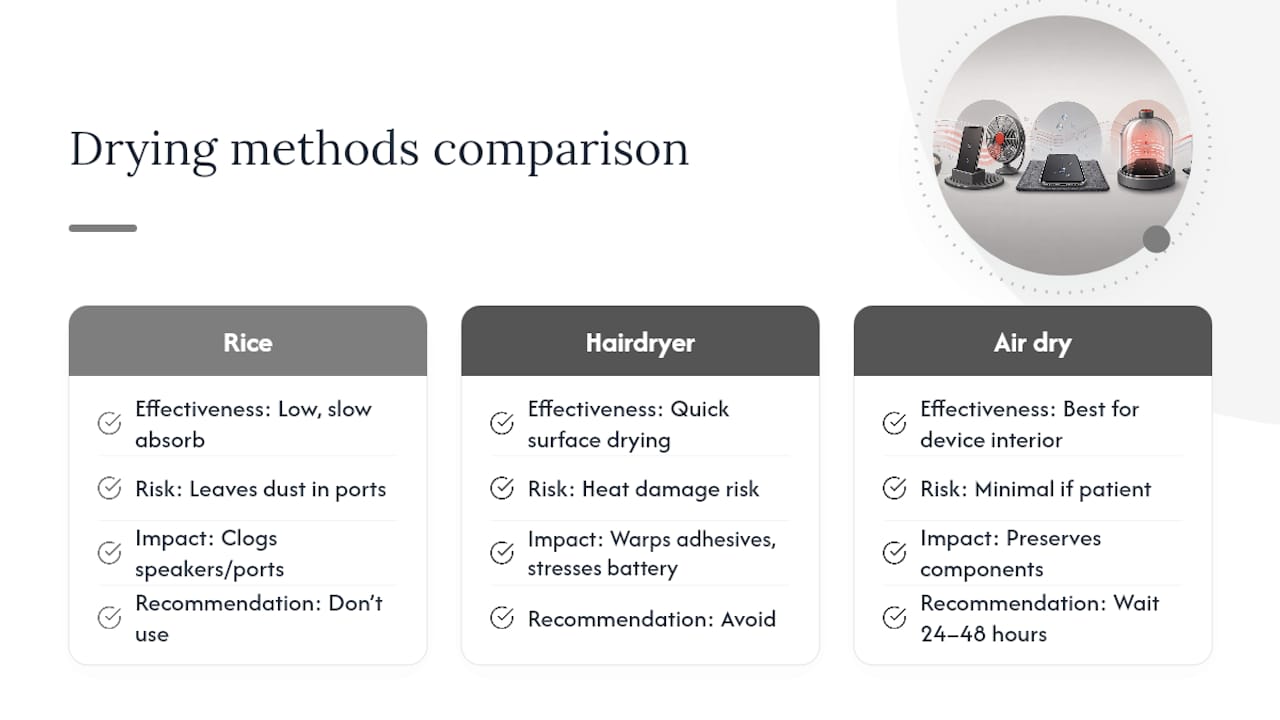
Every popular “hack” for drying a wet phone tends to do more harm than the water itself.
Rice is slow and does little beyond basic desiccation. It also sheds starchy dust that can work its way into ports and speaker grilles.
Hairdryers and other heat sources can warp internal adhesives and stress the battery, sometimes causing swelling that shows up days later.
Freezers cause condensation as the phone warms back up, effectively adding new moisture rather than removing it.
Inserting objects into ports, using high-pressure air, or charging while still damp all risk a direct short across the connector pins.
The clearest warning across every credible repair guide is the same one, repeated in different words: never charge a wet iPhone, and never use heat to speed up drying. Both mistakes turn a simple fix into an expensive repair.
How long does it take to dry an iPhone, and how do you test it?
A muffled speaker often clears within minutes using the sound eject method. Internal moisture is a different story entirely, and it typically needs 24 to 48 hours to evaporate fully, sometimes longer after a full submersion.
Test the speaker and microphone first with a tone and a voice memo, right after your initial drying attempts.
Leave the phone off and undisturbed for at least a day before testing the charging port.
Plug in briefly to check for the “Liquid detected” warning rather than leaving it connected.
Only attempt a full power-on once the charging test comes back clean.
Apple’s own support documentation advises waiting before reconnecting power precisely because charging too early is the single most common cause of a short after water exposure. If in doubt, wait longer rather than testing again.
When should you book a professional repair instead?
Some signs mean home drying has reached its limit, and continuing to test the phone yourself only increases the risk of permanent damage.
The “Liquid detected” warning persists after 48 hours of proper drying.
Sound, microphone, or charging problems remain after you have tried the steps above more than once.
You notice visible corrosion around the ports or under the case seams.
The phone holds photos, messages, or work data you have not backed up, and you cannot risk losing it.
Technicians open the device to check the internal Liquid Contact Indicators, small tags that turn permanently red once exposed to enough moisture. From there, a proper water damage workflow usually involves ultrasonic or isopropyl alcohol cleaning of the board, controlled low-heat drying, and replacing corroded components rather than hoping they recover on their own. If your phone shows any of the signs above, our guide on signs your iPhone needs repair is worth a read before you decide.
Pro Tip: Back up what you can before booking a repair, even if the phone still switches on. Board-level water damage work occasionally requires replacing components that hold local data, and a backup taken now costs nothing.
A technician’s take on the mistakes that cause the real damage
The phones that arrive at our bench beyond saving almost always share one detail: someone tried to charge them “just to check” before they were properly dry. That single decision causes more board damage than the water itself ever does. If there’s one rule worth following above all others, it’s this: never plug in a wet iPhone, no matter how dry it looks.
Need a repair booked? Here’s what to expect
Rapidrepairsldn is the option worth choosing when sound-based ejection and careful drying haven’t cleared the problem, because a shop visit gets you a same-day diagnostic rather than days of uncertain waiting at home. Our technicians open the device, check the Liquid Contact Indicators, clean corrosion with high-concentration isopropyl alcohol, and replace charging ports or board components where the damage has gone beyond what drying alone can fix.
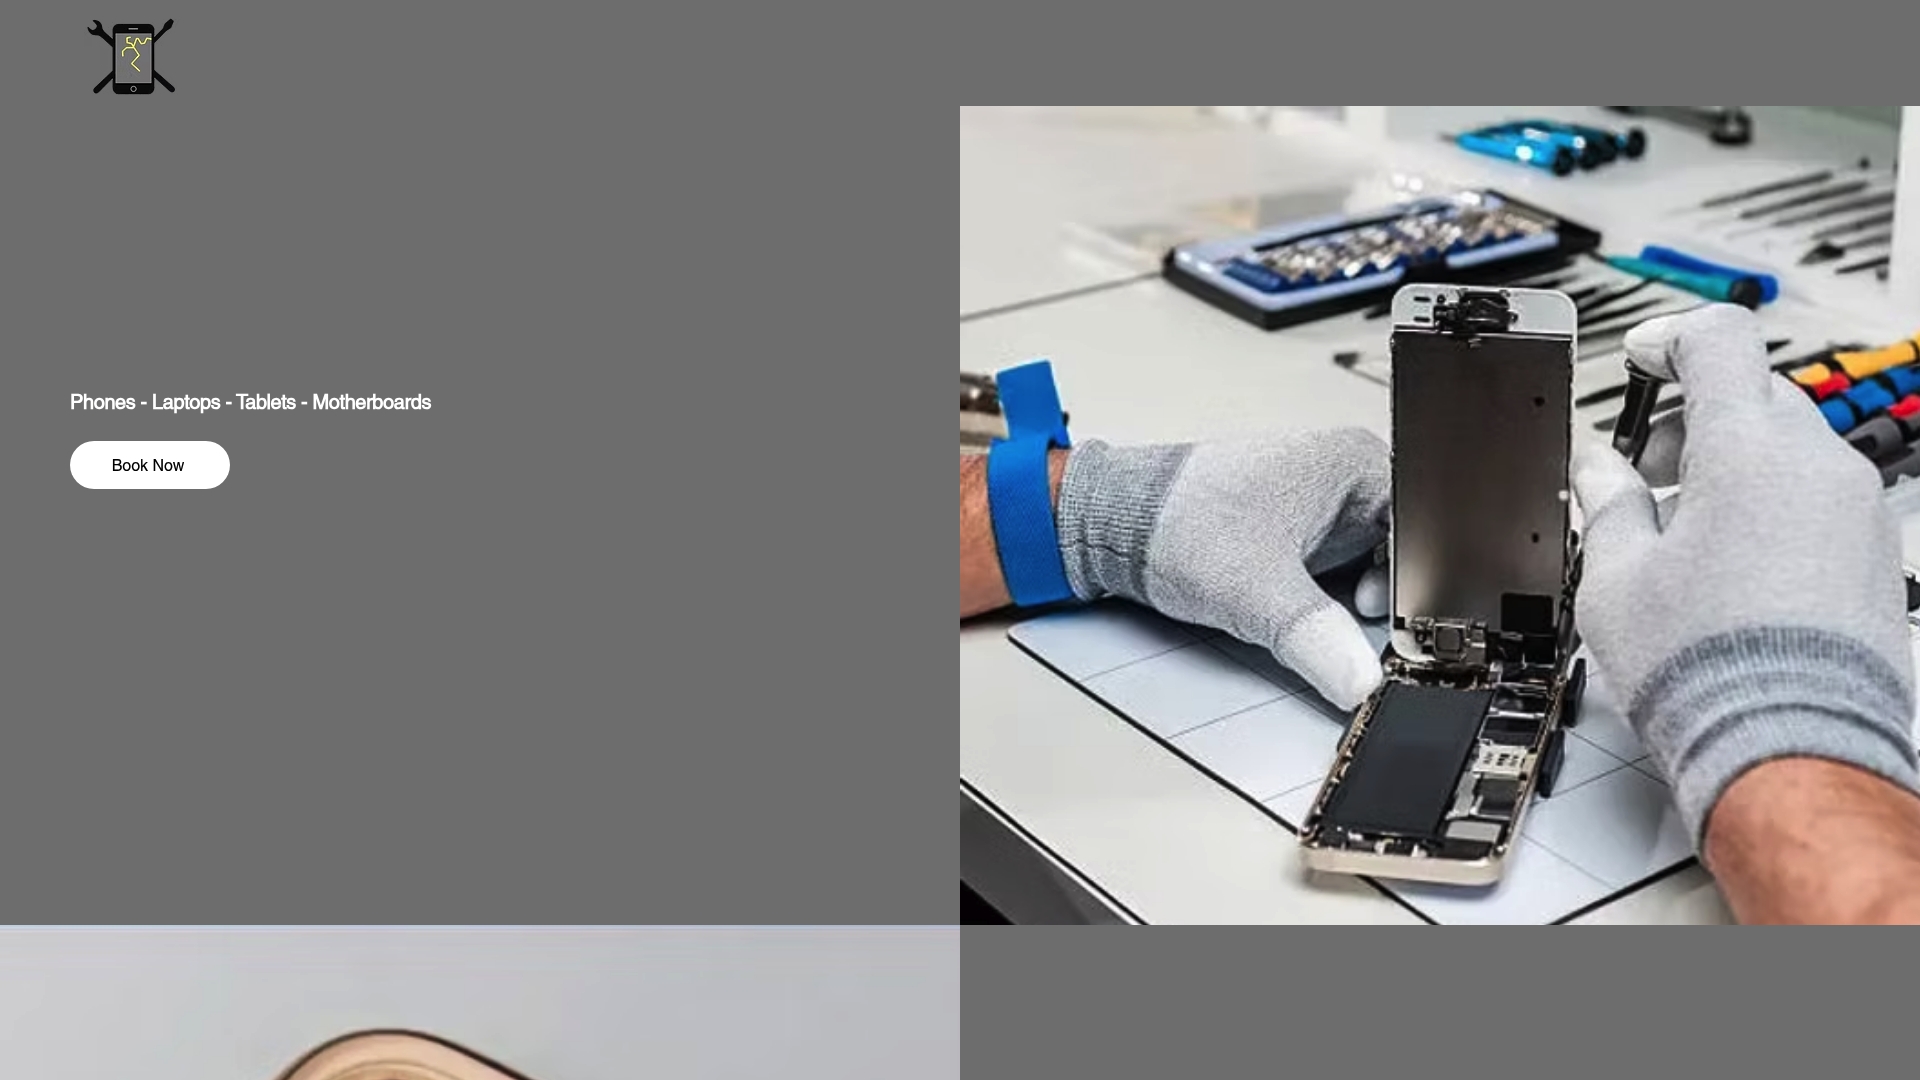
Booking is straightforward: bring the phone in, get a diagnostic and a clear quote before any work starts, and most water damage inspections come with a same-day turnaround estimate. If your device is still showing a “Liquid detected” warning or you’d rather not risk further damage testing it yourself, visit our iPhone repair page to see the service options, or head to the Rapid Repairs London homepage to check availability and get booked in.
Frequently asked questions
Can I use rice to dry my wet iPhone? No. Rice absorbs moisture too slowly to help and can leave dust in the ports and speaker grilles, making the problem worse rather than better.
How do I know if my iPhone still has water inside it? Check for a persistent “Liquid detected” warning when you try to charge, muffled speaker or microphone sound, or a fogged camera lens after 24 to 48 hours of drying.
Is it safe to use a hairdryer to dry an iPhone? No. Heat can warp internal adhesives and stress the battery, sometimes causing damage that only shows up days later.
How long should I wait before charging my iPhone after it gets wet? Wait at least 24 hours, and longer after full submersion, checking for the “Liquid detected” warning before you plug in.
What is the water eject shortcut and does it actually work? It is a tool, built into iOS Shortcuts or available through certain apps and websites, that plays a low-frequency tone to vibrate water out of the speaker grille. It genuinely works for surface-level speaker moisture, though it won’t clear water trapped deeper inside the device.
Sources
Recommended
Comments